
Button Art on Canvas: Easy DIY Ideas & Tips
- Button art on canvas is an easy, beginner-friendly craft that turns spare buttons into beautiful wall decor;
- Use gel-style craft glue and simple shapes like hearts, wreaths, and initials for durable, polished results;
- Follow a quick workflow: prep and paint, outline shapes, arrange buttons from large to small, then glue;
- Photograph your finished canvas and display it with Mixtiles adhesive, repositionable photo frames for a gallery-worthy look.
Button art on canvas blends color, texture, and nostalgia into a beginner-friendly DIY you can finish in an afternoon. In this guide, you will learn the best supplies, the right glue for buttons on canvas, simple step-by-step methods, and canvas button art ideas that work every time. We also share how to photograph your finished piece and turn it into cohesive wall art using Mixtiles lightweight, peel-and-stick picture tiles so your handmade craft projects and favorite photos look amazing together.
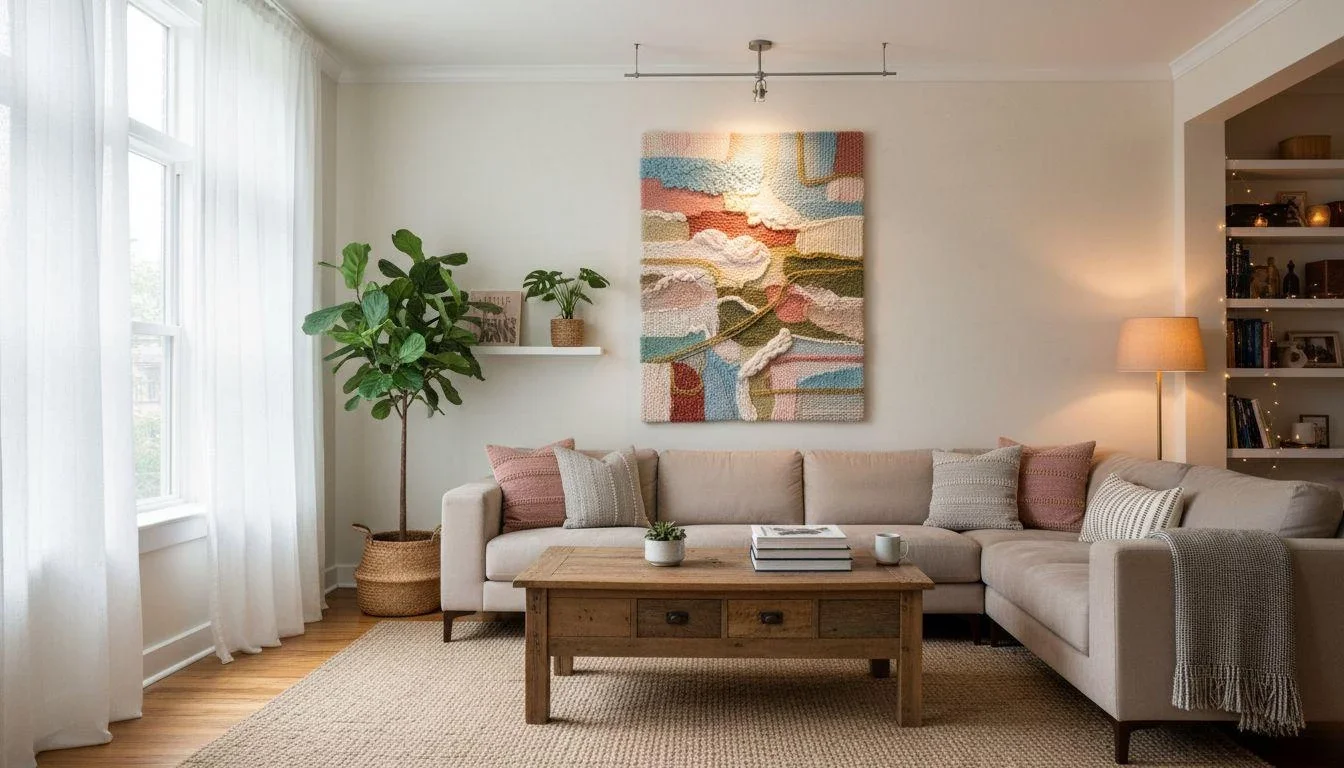
Turn your finished button canvas into a gallery. Photograph it and create stunning personalized canvas prints to pair with your favorite pictures—no nails, no damage.
What is button art on canvas, and why is it so fun?
It is art using buttons arranged on a painted canvas background to create shapes and textures. This easy DIY button art makes a cute gift, adds instant home decor charm, and suits kids crafts or quick weekend craft projects in any color palette, from black and white to bright rainbow.
What supplies do you need to make button art on canvas?
You only need a few basics to get started. Keep it simple for your first button art project, then scale up your art on canvas as your confidence grows.
Essential materials
- Canvas, such as an 8x8 canvas or 10x10, acrylic craft paint, and small brush;
- Variety of buttons in sizes and colors, tweezers, and a ruler and pencil;
- Clear gel tacky glue for a strong hold, plus a dab of glue for tiny gaps;
- Stencil tape for borders, optional Mod Podge to seal the background.
What’s the best glue for buttons on canvas?
Clear gel-style craft glue is ideal. It grips canvas, gives longer working time than school glue, and dries clear. You can place large buttons first, slide small ones into gaps, then add seed beads if you like. Avoid hot glue on thin canvases since heat can warp paint and fabric.
How do you make button art on canvas step by step?
The fastest path is to paint the canvas, lightly sketch a shape, place larger buttons first, then secure everything with glue.
Prep and paint
Prime or paint the canvas with craft paint, white or a soft color; use a ruler and stencil tape to frame a neat border; let dry, then optionally seal with Mod Podge. To add depth before you glue, consider subtle texture like gesso, dry brushing, or a whisper of modeling paste—our guide to texture painting on canvas walks through easy techniques and tools.

Arrange and adhere
Sketch your design, like a heart, wreath, or button art tree. Sort by color and size. Place big buttons, fill with smaller ones, then add a dab of glue under each piece.

Finish and finesse
Keep outlines crisp so the design reads from across the room. Let it dry fully to avoid shifts over time.

Which button art designs work best for beginners?
Start with simple, high-contrast shapes that look great as button wall arts or canvas art gifts for birthdays or Valentine’s Day.
- Heart or circle wreath;
- Monogram or initials;
- Balloon bunch, butterfly, or tree silhouette;
- Seasonal icons like pumpkin, star, or snowflake.
Snap a well-lit photo of your finished canvas and create a matching Mixtiles set in minutes. Mix craft shots with family photos for a textured photo gallery wall.
How do you display and preserve your button canvas?
Use light hardware, avoid humidity, and capture a clean photo so you can reprint it as Mixtiles for effortless hanging.
Hanging tips
Use a light frame or sawtooth hanger. Dust with a soft brush. Keep away from steamy bathrooms. For rentals, print the artwork photo as Mixtiles and stick it directly to the wall for damage-free display.
Digitize and build a gallery with Mixtiles
Photograph in natural light, crop square, then order via the Mixtiles app or website. Popular Canvas Tile sizes are below for planning:
|
Mixtiles Canvas Tile |
Size, inches |
Size, cm |
|---|---|---|
|
Square Small |
8 × 8 |
20.32 × 20.32 |
|
Square Medium |
12 × 12 |
30.48 × 30.48 |
|
Portrait |
12 × 16 |
30.48 × 40.64 |
With a handful of buttons, the right glue, and a simple plan, button art on canvas is an easy DIY that looks polished on any wall. Keep your first design simple, then expand into themed ideas. Do not forget to photograph your piece and print it as Mixtiles so you can rearrange your gallery any time.
Ready to show off your handmade art? Download the Mixtiles app or start on our website to create peel-and-stick photo tiles from your button art photos and build a gallery you can move whenever you like.
Frequently Asked Questions
What glue works best for button art on canvas?
Use clear, gel-style tacky glue (Aleene’s Original Tacky or Gorilla Clear Grip Gel). It grabs fabric, offers wiggle room, and dries clear. For heavy vintage buttons, add a tiny extra dot. Avoid hot glue on thin canvas—it can warp paint and loosen over time.
How do you glue buttons to canvas for neat, secure results?
Dry-arrange first, starting with the largest buttons, then medium, then fillers. Lightly pencil the shape. Lift one piece at a time, add a pea-sized dot of gel glue, press 5–10 seconds. Fill hairline gaps last. Let cure flat 12–24 hours.
How should I place and space buttons on the canvas?
Sketch a simple outline. Cluster sizes for visual rhythm: big anchors at corners or curves, smaller buttons to fill. Slight overlaps look lush; avoid perfect grids. Keep edges crisp so the shape reads from across the room. Step back often and adjust before gluing.
What’s an easy button art activity for kids?
For kids, pre‑paint and pre‑draw a heart, star, or initial. Sort large, colorful buttons in bowls. Use tacky glue in small dots and press for a slow count of five. Keep pieces flattish and skip tiny beads. Let dry flat; photograph and display with Mixtiles.
Be first to know — deals, news & decor ideas.
By clicking you agree to the Terms of Use & Privacy Policy