
Yarn Canvas Art: Easy DIY Ideas for Stunning Decor
Key Takeaways
- Yarn canvas art is an easy, tactile DIY that uses simple supplies to create bold, textured wall pieces;
- Start with a sketched design, paint base blocks, then layer yarn with clear-drying glue for crisp lines and rich texture;
- Try beginner-friendly patterns, like blocks, waves, or sunbursts, and vary yarn weights and fibers for dimension;
- Photograph your yarn canvas art and pair it with Mixtiles adhesive, repositionable photo frames to build a no-nails gallery wall.
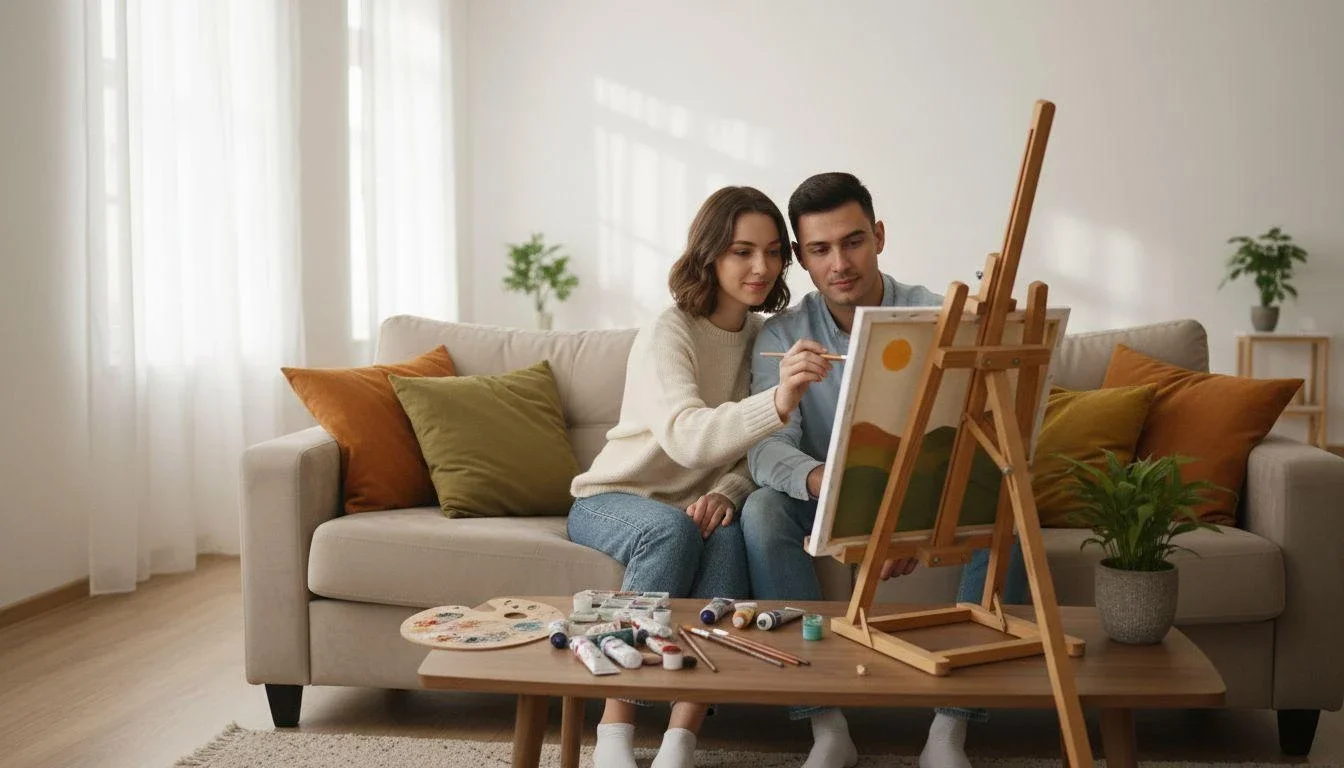
Yarn canvas art blends the bold look of graphic painting with the cozy texture of fiber. With a stretched canvas, acrylic paint, and a handful of yarns, you can create tactile “paintings” that pop on any wall, no advanced art skills required. In this guide, you will get the must-have supplies, simple designs that look pro, step-by-step techniques, and display ideas. We will also show how to photograph your handmade piece and turn it into a Mixtiles photo gallery you can stick and re-stick without nails.
Turn your handmade art into a dynamic display. Snap your yarn canvas art, upload the photo, and start building a stickable, repositionable photo gallery wall you can change anytime.
What is yarn canvas art and why does it look so striking?
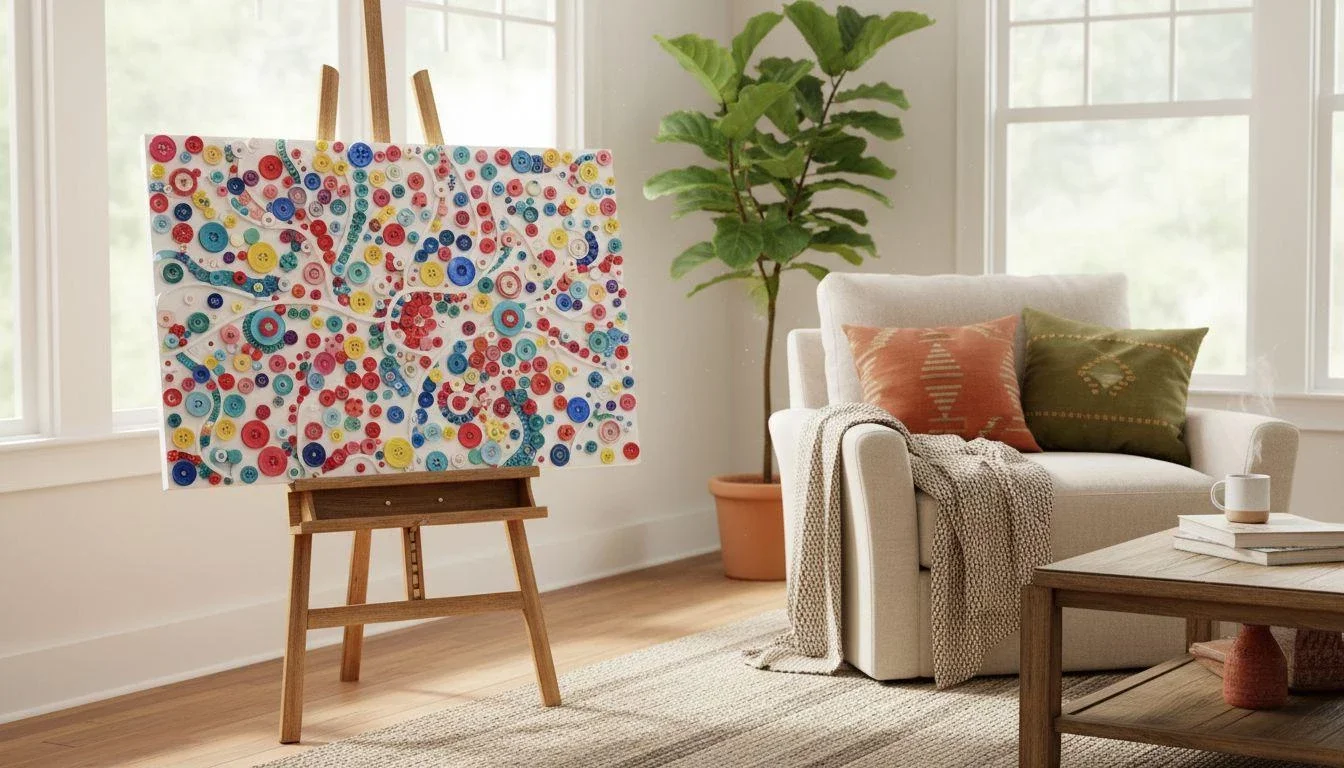
Yarn canvas art is simply using pieces of yarn to outline or fill painted shapes on canvas. The contrast of crisp paint and tactile fiber creates graphic, bold and colourful results that work as abstract wall art or playful nature wall art. You can make geometric blocks, waves, sunbursts, or a freestyle yarn painting. The technique is family friendly, renter friendly, and perfect for home decor because you can use lightweight canvases and display them as wall art or photograph them for Mixtiles.
What supplies do you need to get started?
Gather the essentials before you begin this DIY yarn art project. Start small, then scale to large wall art as your confidence grows.
- Stretched Canvases: Begin with 5" × 7" to 8" × 10" for your first canvas art piece;
- Yarns: Mix DK or worsted with chunky yarn or mohair for texture in your yarn wall art;
- Glue: Clear-drying white craft glue, like PVA or Aleene’s, for strong yet neat adhesion;
- Acrylic Paints and Brushes: Block in color, then let dry for clean yarn placement;
- Pencil and Scissors: Light sketching and precise trimming to refine your canvas yarn art;
- Surface Protection and Tools: Parchment, masking tape, ruler, and tweezers for tidy results.
How do you plan and prep your yarn canvas art design?
Sketch quick thumbnails and keep shapes simple. Paint your base, let it dry, then add yarn. Color match your paints to the yarn you will use so small gaps still look intentional. Wrap color over the edges for a gallery look. Segment the artwork so you can create neat lanes of yarn rather than fighting a single huge area. A white underlayer helps light colors sing, and it keeps the final project looking like fine art rather than a rushed craft.
What are the step-by-step techniques for clean lines and lush texture?
You will get crisp results by outlining first, then filling segments with parallel rows of yarn, moving from straight shapes to curves last.
Outlining and line work
Brush a thin bead of glue where the line will be, then place yarn snugly side by side. You can use one long strand and loop around the back for speed, or cut tidy segments for perfect ends. Press gently, then trim flush for razor-sharp borders.
Filling color blocks
Work one segment at a time. Apply a thin, even glue layer, start in a corner, and lay rows of yarn back and forth until the area is full. Keep tension even. Wrap the yarn over the canvas edge for a finished look that photographs beautifully for Mixtiles.
Curves, waves, and sunbursts
Outline the curve first using shorter pieces for control. Fill from the outside inward so arcs stay symmetrical. For waves, a halo yarn like mohair creates a frothy effect. For sunbursts, taper rows to the center for a radiant feel.
Abstract “doodle” method
Start with two spirals, then riff on shapes around them. Alternate smooth and fuzzy yarns to add depth. This style translates into eye-catching yarn art photos that you can print as a set.
Make your handmade art the centerpiece. Photograph your yarn canvas art and turn the shot into stunning personalized canvas prints. Our adhesive frames mean no tools, no nails, and no damage.
How can you hang and style yarn canvas art at home?
Mount small canvases with removable strips, then style a mixed-media gallery by pairing your original with Mixtiles prints of close-ups, color swatches, and family photos in matching hues. You can also add a coordinating wall sign for a custom touch.
Renter-friendly mounting
Use removable strips rated for your canvas weight and press to a clean, flat wall. This saves your paint and keeps your home looking fresh. If you prefer prints, Mixtiles tiles stick and re-stick cleanly, which is perfect for apartments.
Build a mixed-media gallery wall
Combine the original yarn wall with picture tiles that feature macro textures of your yarn painting, or create a theme that complements nature wall art like waves or sun rays. Arrange in a grid or a relaxed salon. You have full freedom because Mixtiles can move as your room evolves.
Popular Mixtiles canvas sizes for your yarn canvas art photos
When you turn your photos into canvas pictures, choose a size that fits your space. Here are versatile options, shown in inches and centimeters, available in many regions.
|
Advertised Size |
Inches |
Centimeters |
|---|---|---|
|
Square Small |
8 × 8 |
20.32 × 20.32 |
|
Portrait Classic |
12 × 16 |
30.48 × 40.64 |
|
Square Statement |
20 × 20 |
50.80 × 50.80 |
|
Large Feature |
20 × 27 |
50.80 × 68.58 |
Want help picking dimensions for your space and subject? Explore our comprehensive canvas size chart for more options and room-by-room guidance.
Turn one craft into many gifts
Photograph your finished piece in daylight, then order multiple Mixtiles for loved ones. Create seasonal sets, for example a warm sunburst for summer and a cool wave for winter. You can upgrade the display later with a printed wall sign.
What common mistakes should you avoid?
Steer clear of these pitfalls to keep your canvas yarn art looking clean and professional.
- Too Much Glue: Thick layers seep through fibers and cause slip, so brush on thin, even coats;
- Skipping the Base Paint: Unpainted gaps show, so paint segments first, even if you plan to cover with yarn;
- Starting Too Large: Begin small to master corners and curves, then scale to large wall art;
- Ignoring Edges: Wrap color and yarn around sides for a gallery finish that photographs well.
Quick questions about yarn canvas art
Here are fast answers to popular questions so you can start and finish your project with confidence.
Will yarn stick long term on canvas?
Yes, when using clear-drying craft glue in thin layers and letting it cure fully. A clean, painted base helps adhesion.
What size is best for beginners?
Try 5" × 7" or 8" × 10". You can move to 12" × 16" when you have steady control over curves and edges.
How long does one piece take to make?
About one to three hours for simple designs. Add time for intricate curves, mixed textures, or very large pieces.
Can kids help with diy yarn art projects?
Yes, with supervision for scissors and glue. Use bigger shapes and chunky yarn so it feels like play, not precision work.
Yarn canvas art is a simple, tactile way to bring bold color and texture to your walls. With a handful of supplies, a few smart techniques, and the right yarn choices, you can create unique pieces that look polished. Do not stop at one piece, explore patterns, try diy yarn art variations, and style your handmade canvas alongside Mixtiles photo tiles for personalized home decor. If you need ordering tips, our Help Center and customer service can help you get the best results.
Ready to show off your yarn canvas art? Upload your photos and create a custom set of photo tiles in minutes. Build a no-nails, repositionable picture wall that showcases your creativity.
Frequently Asked Questions
How do you get yarn to stick cleanly to canvas?
Use clear-drying PVA/tacky glue or acrylic matte gel. Brush on a thin, even layer, then press yarn in place with your fingers or tweezers, working in small sections. Paint the base first, avoid thick glue, wrap edges, and let it cure 12–24 hours.
What is yarn art on canvas called?
It’s commonly called yarn painting, a form of fiber or textile art. Related techniques include string art, punch needle, weaving, macramé, tufting, and latch hook. When done on canvas with glue, “yarn painting” or “string art on canvas” are the most used terms.
How do you make string (thread) art on canvas without nails?
Sketch and paint your design; let it dry. Outline shapes with a thin bead of glue, lay yarn or thread along the lines, then fill areas with parallel rows, trimming ends neatly. Wrap edges for a finished look and allow full cure before handling or photographing.
What is a yarn painting called in traditional art?
In Wixarika (Huichol) tradition, yarn paintings are called nierika—boards coated with beeswax/resin, then covered with colorful yarn to form symbolic imagery. Contemporary crafters often use glue on canvas and refer to the technique simply as yarn painting or string art.
Be first to know — deals, news & decor ideas.
By clicking you agree to the Terms of Use & Privacy Policy